What Happens Between Templating and Installation
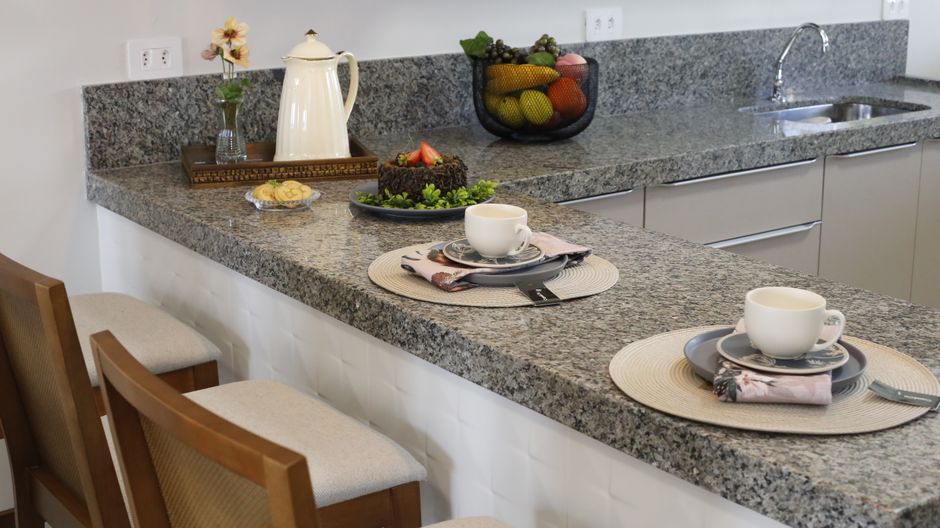
The whine of a bridge saw biting into a slab, with a steady hiss of water on the blade, is the sound the whole job builds toward in Riverside, CA. Every shop visit logged by countertop fabrication riverside the variable life shows the same order of work: template, cut, shape, fit, install, and each step decides how the next one goes. Here is that order for a countertop, from the cabinet to the finished top.
Templating the cabinets
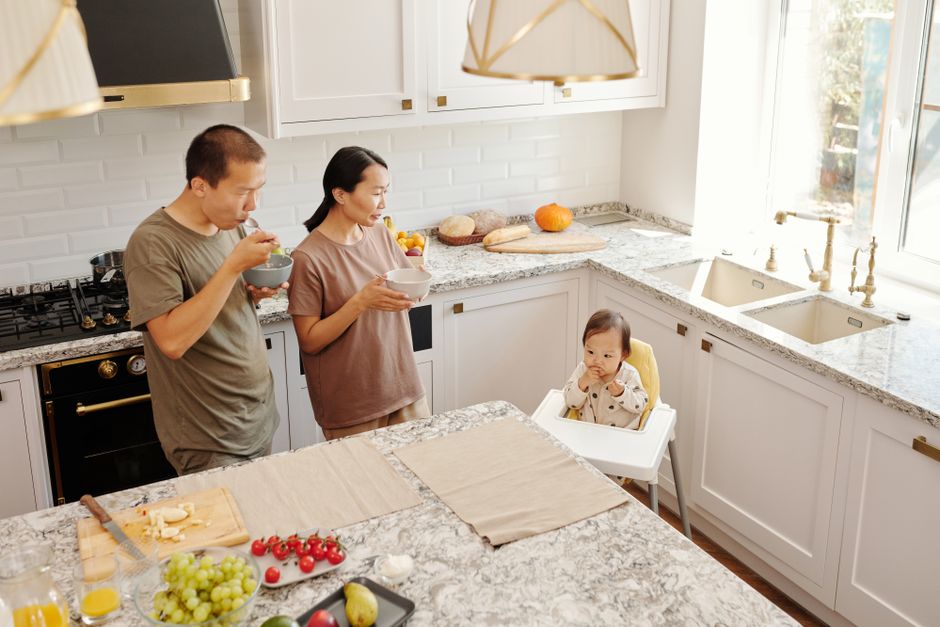
Templating is done two ways, with a digital laser measuring system or with physical strips glued into a pattern of the cabinet tops. Either one records wall angles, cabinet runs, the overhang and every cutout location. Old houses near the Mission Inn and newer tracts in Jurupa Valley both have walls that run out of square, and the template is what captures that.
Laying out the slab
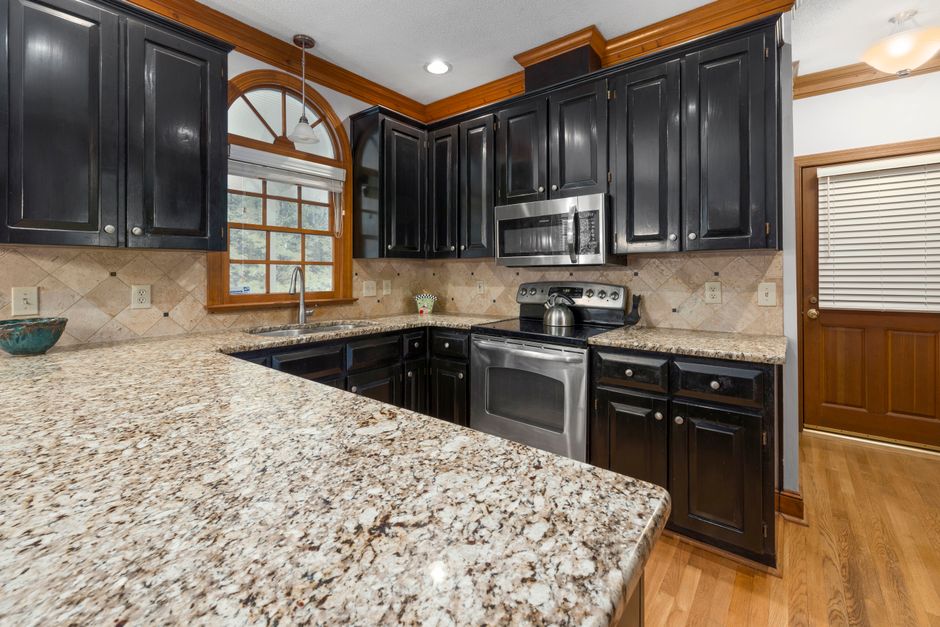
The template is laid over the actual slab. This is where seam placement gets decided, since a slab only comes so long and some layouts need a joint. Not every slab can be cut without seams, and seams are not invisible in all stone. On granite and quartzite the fabricator moves the template around to put veining and color patterns where they read best, and a remnant may be enough for a small vanity or a bar top.
Cutting the stone
Slabs are cut with a bridge saw, a CNC router or a waterjet. Water runs during cutting to cool the blade and control dust. That matters because cutting engineered stone and many natural stones releases crystalline silica dust, so responsible shops use wet methods and dust controls. Quartz in particular is cut wet, start to finish.
Edges and cutouts
An edge profile is shaped with diamond tooling, then polished through progressively finer grits until it matches the slab face. An eased edge takes the least work, while ornate profiles take more passes. Sink cutouts are usually made in the shop and polished. Faucet holes are often drilled with a diamond core bit, either in the shop or on site. Marble and soapstone need a lighter hand at the corners of a cutout than dense granite does.
Sinks and installation
Undermount sinks are commonly attached to the underside of the stone with clips and adhesive, before or during installation. On install day the tops are set on the cabinets and bonded with adhesive or silicone. Seams are drawn tight, filled with color matched epoxy, and leveled so a fingernail does not catch. Dry Santa Ana winds can shorten working time on epoxy, so the crew mixes small batches. Fabrication happens in the shop, and only the final fitting is done on site.